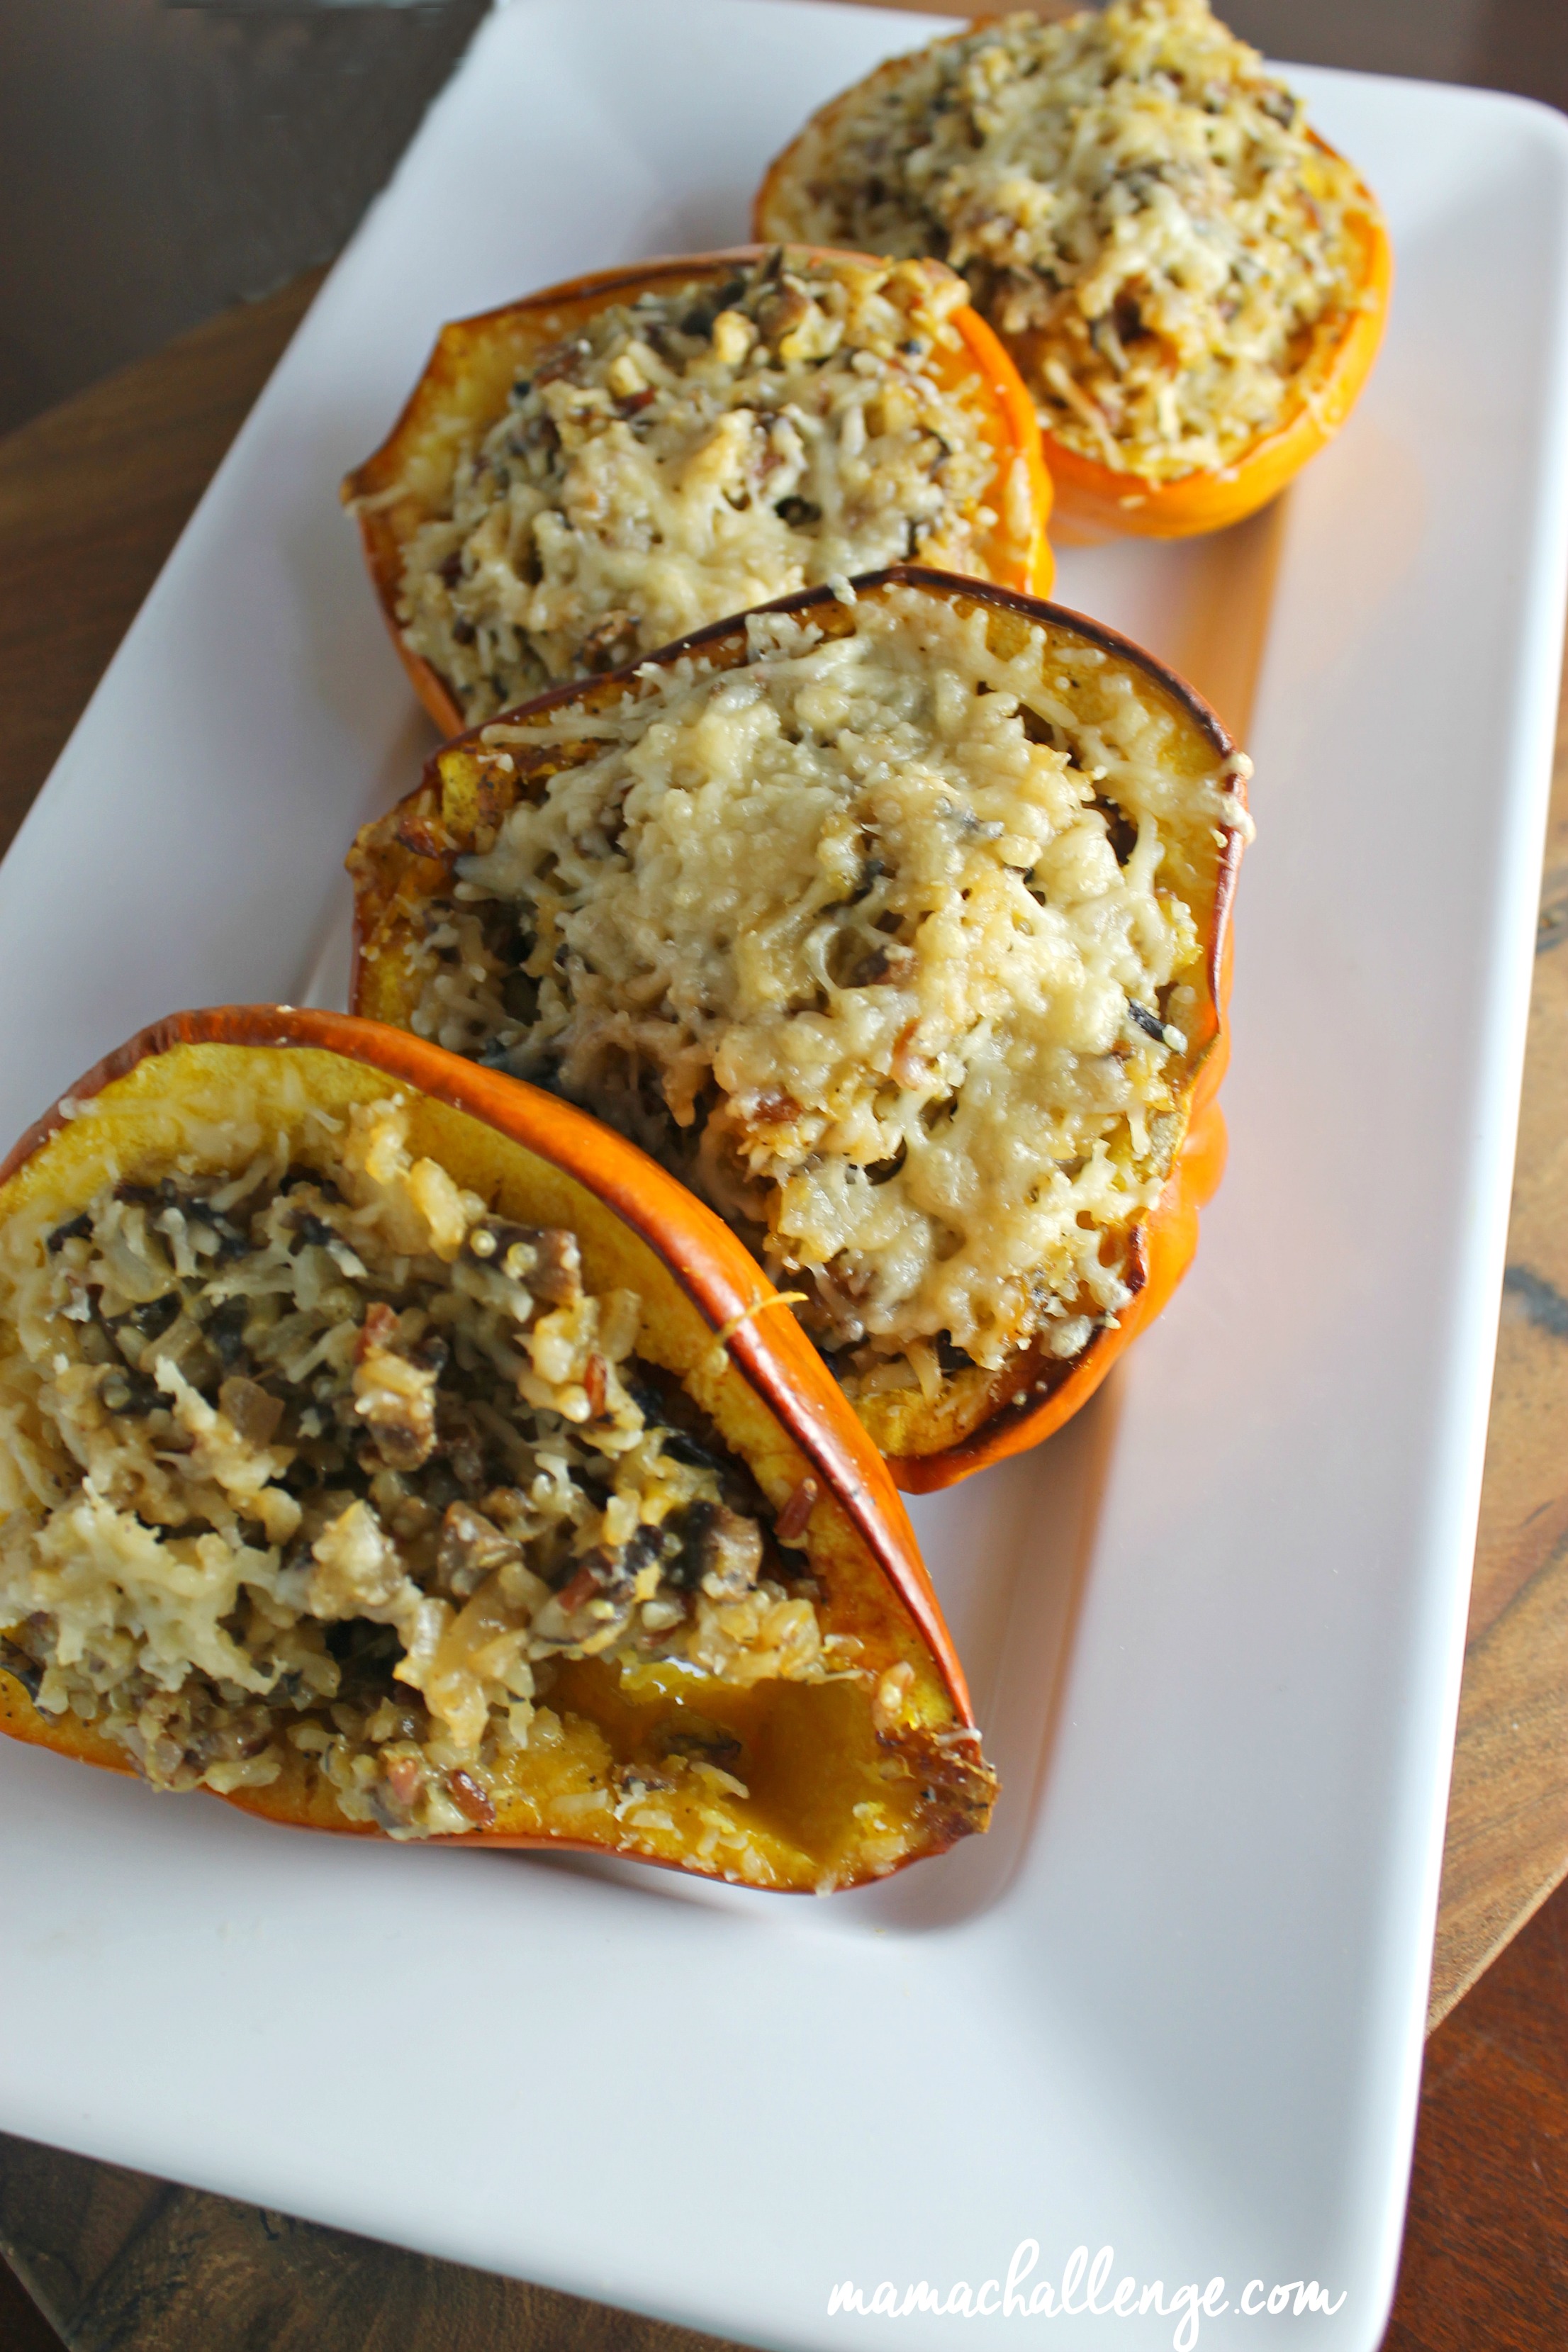
Looking for a few new choices to add to your menu for a healthy Thanksgiving table? Consider this easy Stuffed Acorn Squash made with mushrooms Minute® Multi-Grain Medley.
There’s nothing like the feast served at Thanksgiving. While the food might be the centerpiece of the holiday, it’s actually meant to celebrate being thankful for family and friends by spending time together.
Unfortunately, it’s pretty easy to spend days (and even weeks) planning, preparing and serving the “perfect holiday meal.” But nowadays time is too precious to spend all of it making the food and not enjoying it. And for our family and friends, like most, are too busy to ever get a chance just to say thanks.
Recently I spent time with a few friends on the behalf of for a little pre-Thanksgiving lunch to catch up, share recipes and just to say thanks.
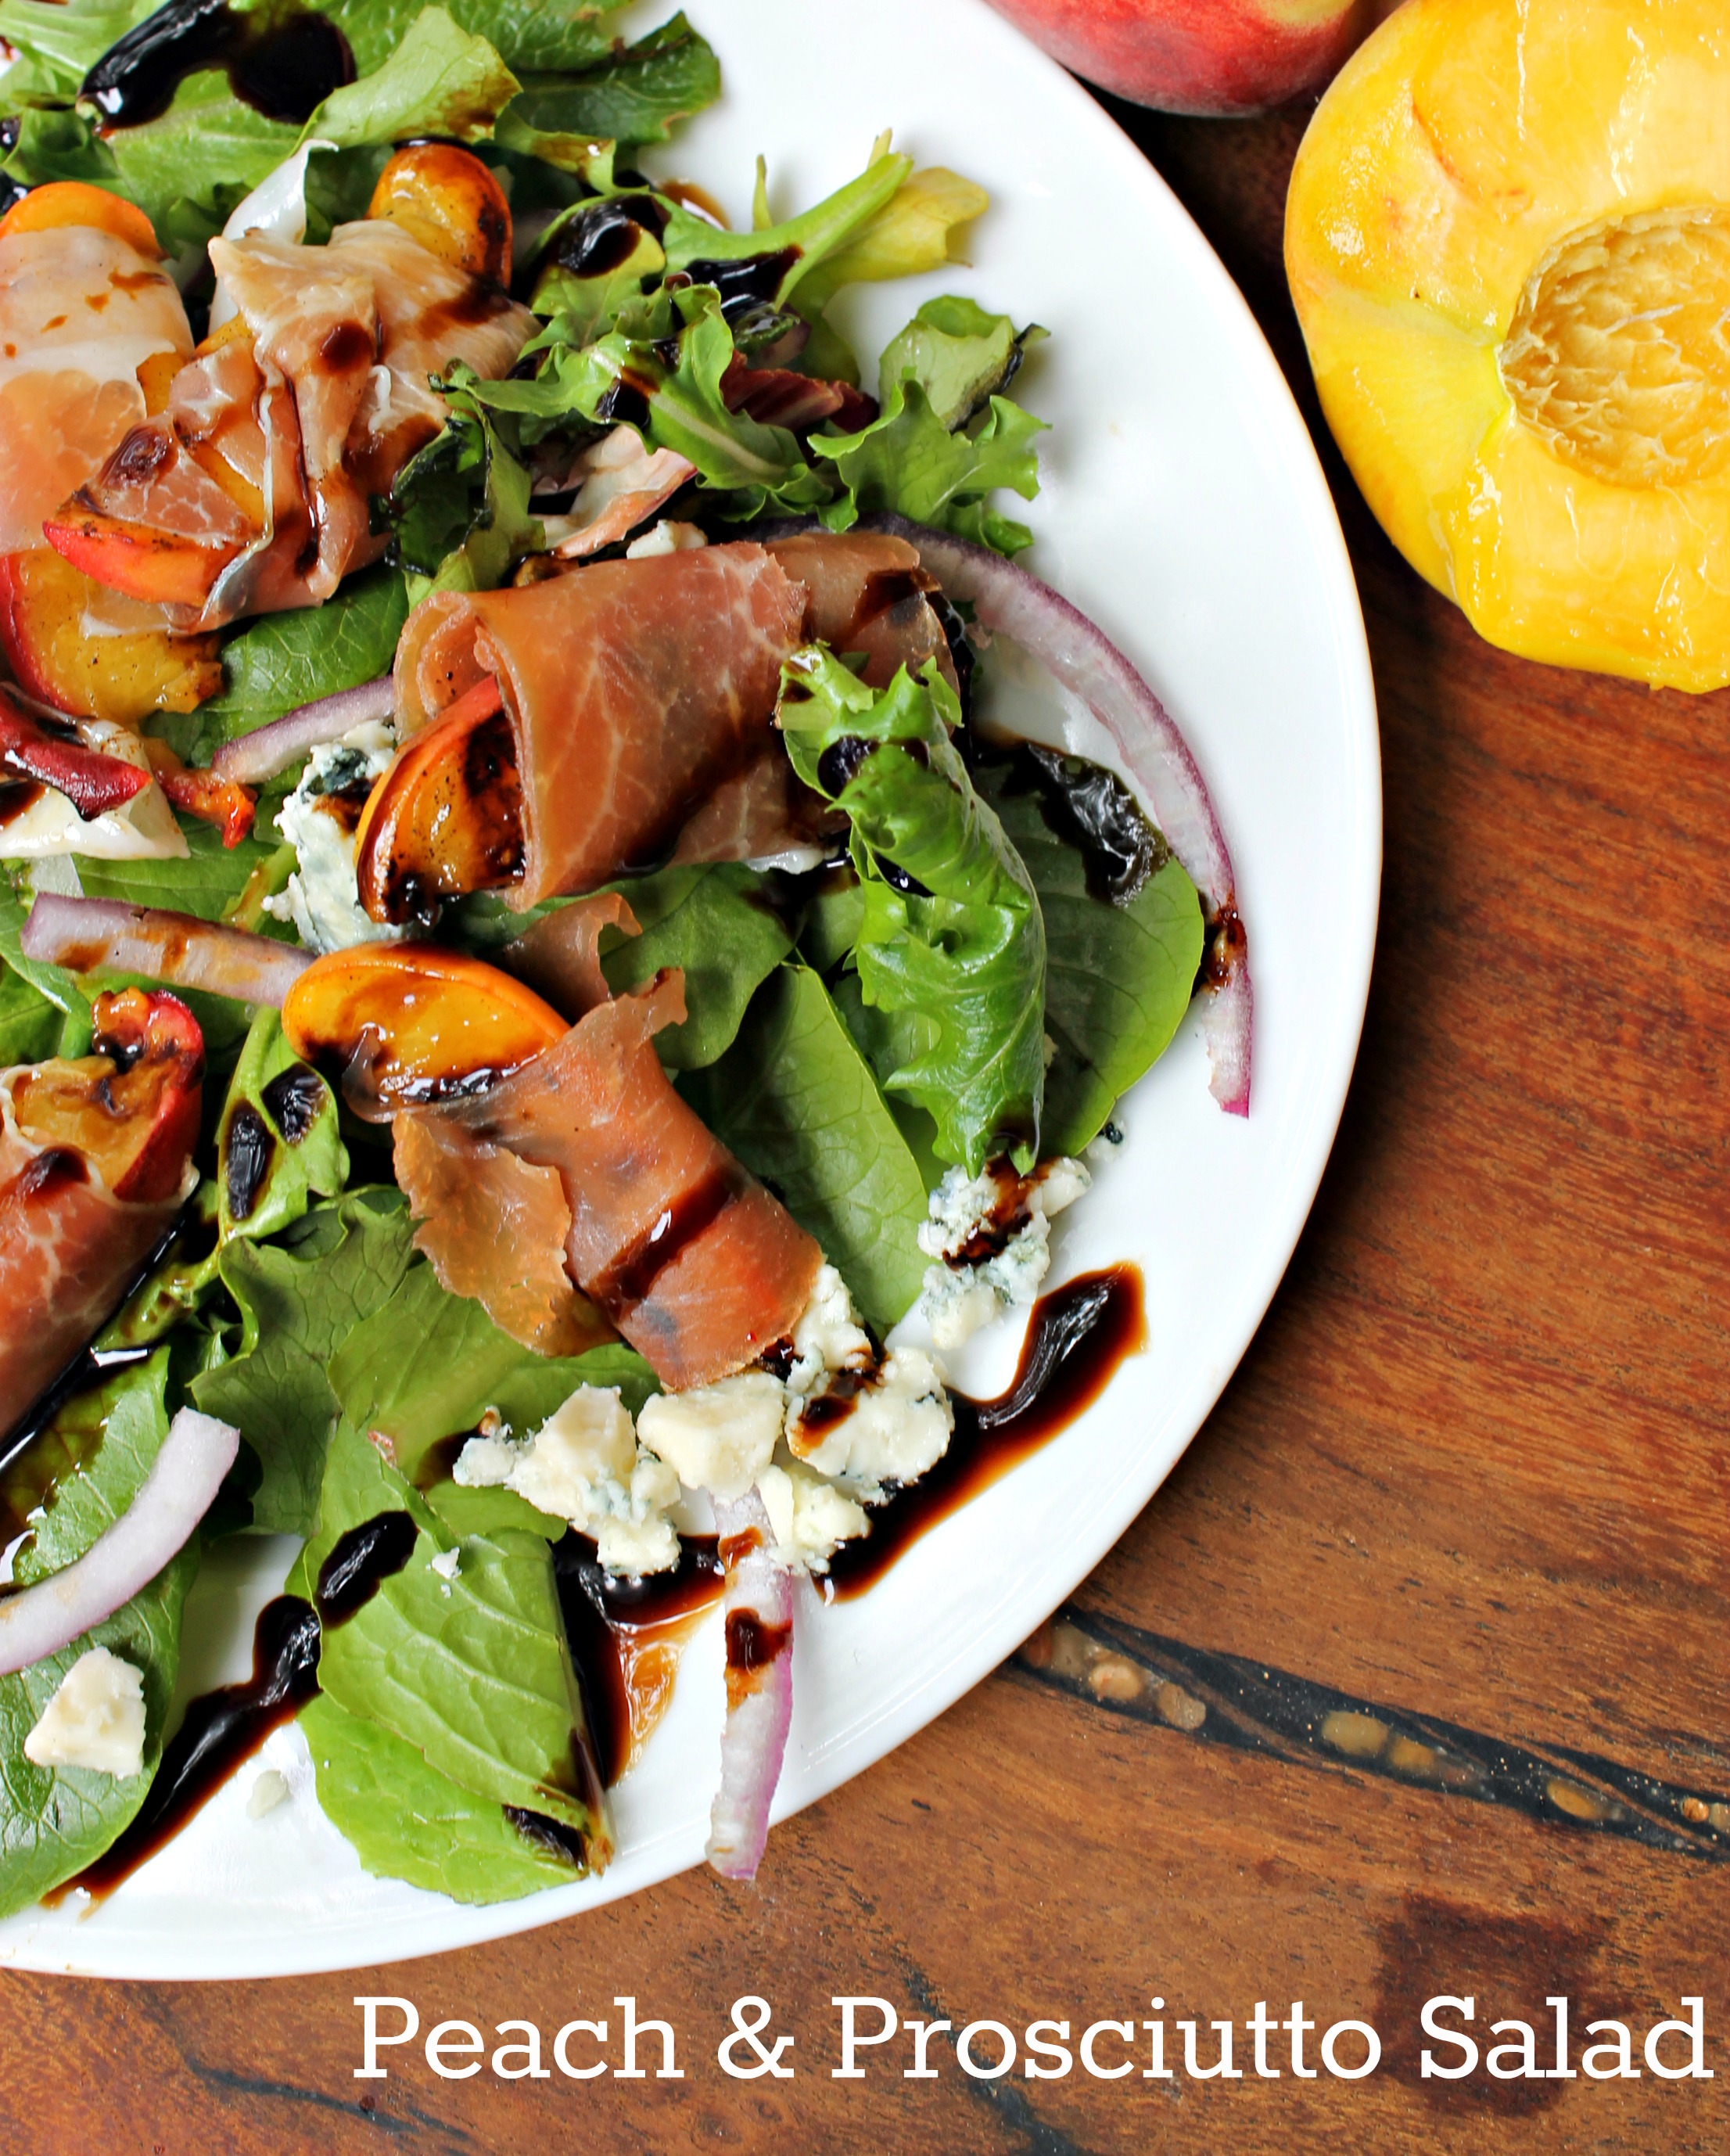
One of the nice things about eating a meal with different people is that you learn a couple of dishes that you might have never thought about or come across like this Apple Harvest Salad with pineapples, apples and cranberries was delicious!
Jennifer King of Soul Dreamer Photography.While no Thanksgiving goes without broccoli-cheese casserole made with Minute® White Rice, one of my new favorites I discovered at the meal was the Minute® Multi-Grain Medley. It’s a blend of four gluten-free, 100% whole grains, including long grain brown rice, Thai red rice, wild rice and quinoa and cooks in just 10 minutes. It’s an approachable staple since it cooks quickly, but can still make a typical meal feel special since the whole grains included give it a nice texture and look.
So with my new find, I wanted to put it to work this Thanksgiving – not just because it tastes good, but it’s healthy and easy to make and I can try to spend more time with my family and not over the stove.
I love, love, love using squash, especially at this time of the year, so I picked a few at the grocery store and contemplated what in the world I could do with them. Finally, combining my favorite mushrooms and Minute® Multi-Grain Medley as a stuffing for the acorn squash seemed like such an easy side or alternative to stuffing at the Thanksgiving table. And if you have a few folks that are vegetarian or are gluten-free, this stuffed acorn squash is the ideal seasonal side or entree anytime of the year.
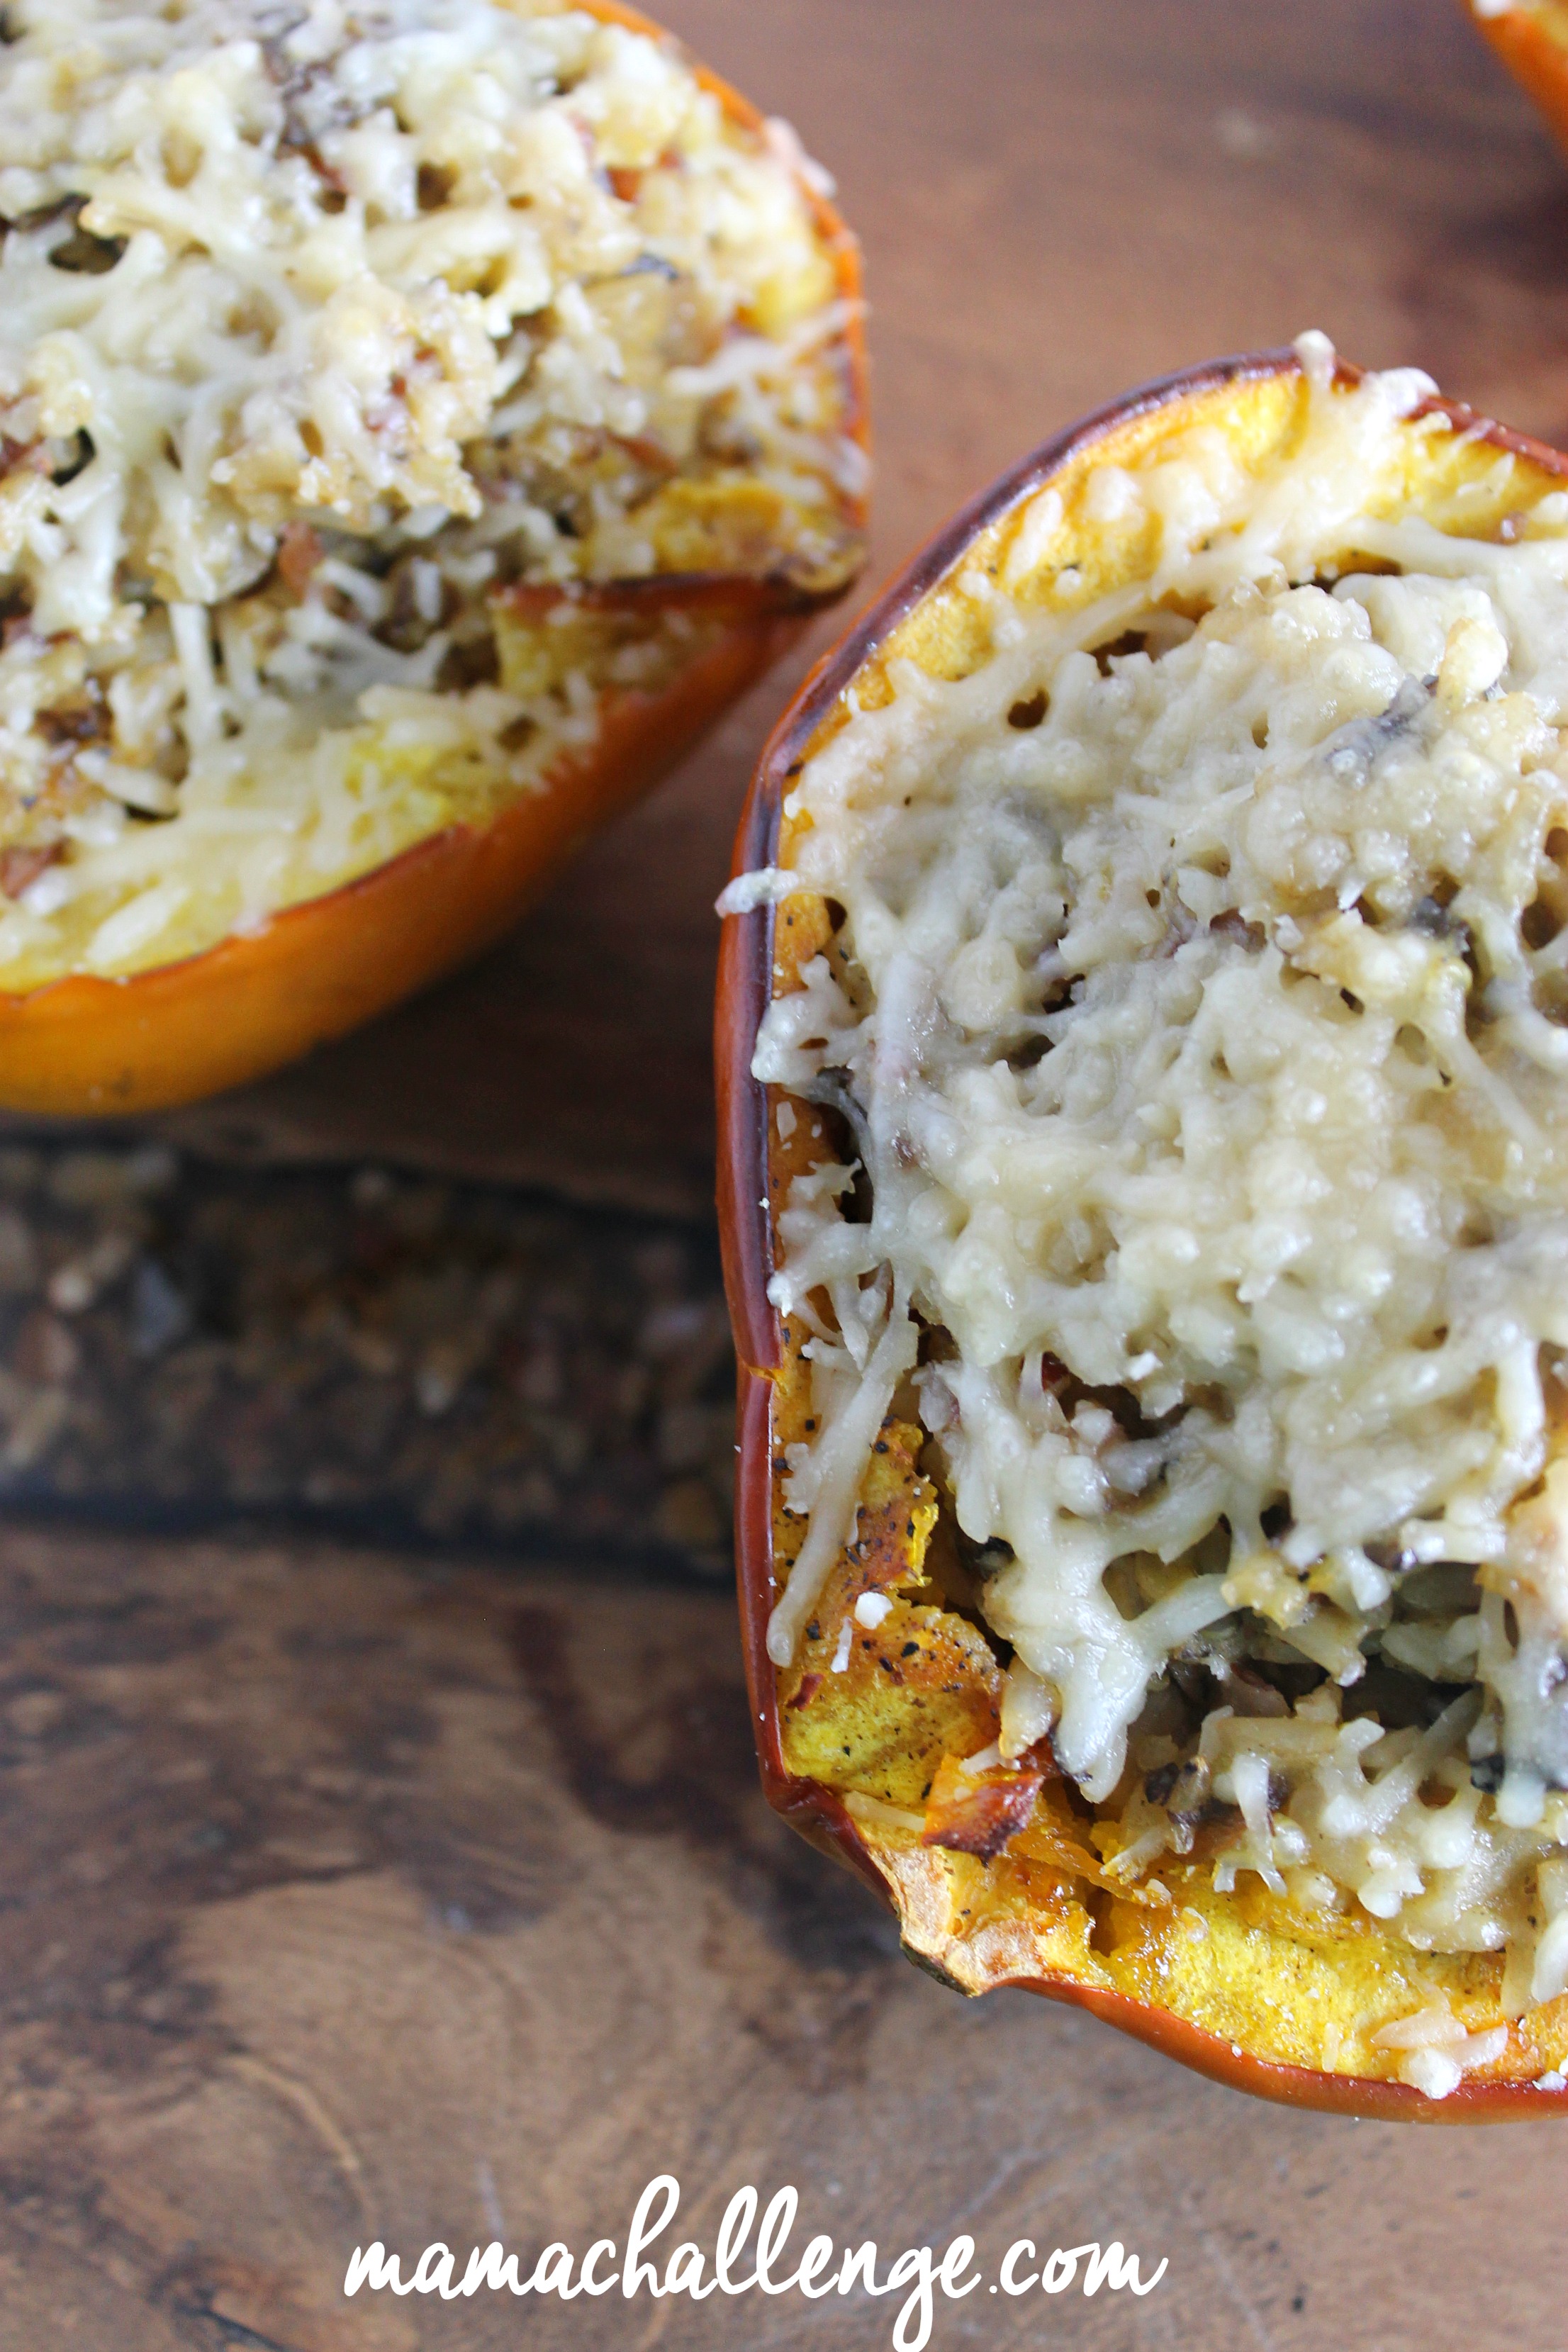
Looking at the Minute® Rice , I also learned that cooking the rice in apple juice was a great way to add a gentle sweetness that would pair with the nutty sweetness of the acorn squash. Adding the earthy flavors of mushrooms and a little parmesan cheese, the flavor is rich without being heavy and totally full of healthy grains at the same time.
For recipe ideas and special offers from Minute Rice straight sent to your inbox, sign up for
Jennifer King of Soul Dreamer Photography.Visit for over 400 recipe ideas, great for any day of the week and any time of the day, and more information about the Minute® Rice family of products.

Stuffed Acorn Squash
Description
A healthy and easy alternative to stuffing at the Thanksgiving table or any dinner night entree filled with rice, quinoa and mushrooms.
Ingredients
- 2 acorn squash, halved crosswise, seeded
- salt and pepper
- 4 tablespoons olive oil
- 1/2 pound mushrooms, trimmed, diced (I like portobellos or crimini)
- 1 yellow onion, chopped finely
- 3/4 teaspoon dried thyme
- 3/4 teaspoon dried sage
- 2 bags Minute® Multi-Grain Medley
- 2 cups apple juice
- 1/2 cup parmesan cheese, grated
Instructions
- Preheat oven to 350 degrees. On baking sheet covered with foil, season inside of squash halves with olive oil, salt and pepper and lay open side down. Cover tightly with foil and roast until tneder, around 30 minutes.
- In a medium pan, heat 2 tablespoons olive oil over medium-high heat.
- Add mushrooms, onion, and seasonings. Saute until mushrooms are soft, about 7-9 minutes.
- Add Minute® Multi-Grain Medley rice and apple juice and bring to a boil.
- Cover and reduce heat to low and allow to cook until liquid is absorbed (15-20 minutes.)
- Remove squash from oven.
- Remove 2 tablespoons of squash meat and stir into the mixture.
- Now divided rice mixture almong squash halves, sprinkle with parmesan cheese.
- Broil until cheese is melted (around 2 minutes.)
This is a sponsored post written by me on behalf of Minute® Rice.